E.max Veneer Removal with a Dental Laser 4K Video. This veneer removal with a hard tissue laser focuses on the removal of e.max veneers using a Erbium Yag Dental laser. The e.max veneers are one of the tougher removals in cosmetic dentistry and with this dental laser we got them off in a short time period.
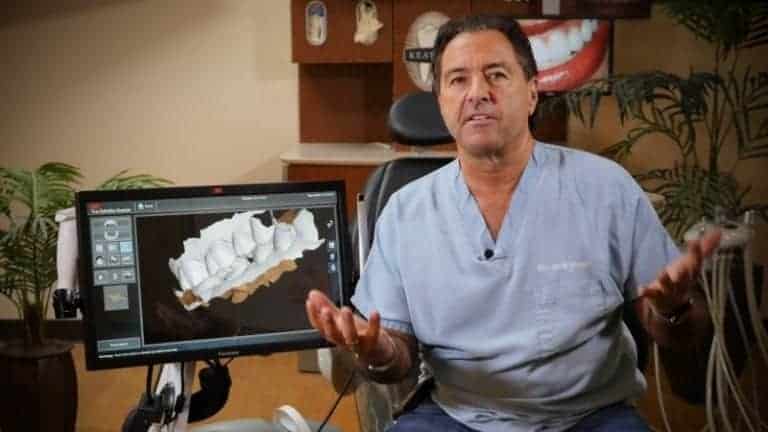
| David: | Hello, I’m Dr. David Hornbrook. We’re with our patient today, Erica, with the goal of taking off her preexisting veneers. She felt they were a little bit opaque, and we want to use the new materials and go ahead and prepare them for new veneers. |
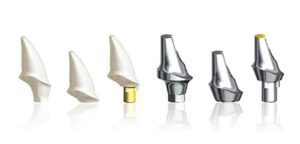
| Now, for those that have cut off existing porcelain, especially the new harder porcelains like the lithium disilicate, you know how difficult it is to cut through. Also, it could potentially be traumatic to the teeth. Anytime we take off existing veneers, there’s always a chance that we’re going to take off more tooth structure. Once we get through the cement, we’re going to enviably remove a little bit more enamel, which is really important if the patients initial goal was to have prepless or minimal-prep veneers. For some reason they don’t like the look or they’re chipped or we have some microleakage or gingival recession, we want to take them off, we want to be as conservative as possible. | |
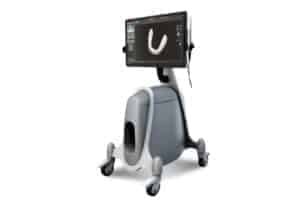
| What we’re going to use today is AMD’s new Light Touch, which is an Erbium-YAG laser. We’ve had really good success with actually the laser penetration through the ceramic. It does nothing to the ceramic because the way the Erbium works it actually absorbs and explodes water molecules. It actually goes through the ceramic, it creates the hybrid zone and the resin to expand, and then the porcelain breaks off. | |
| Now, lots of times we’re able to get these veneers off as a whole piece, and it’s been really beneficial at least in my private practice. Several times where a case went down and maybe didn’t go down all the way or we did a single crown and then after the tooth rehydrated the patient said that doesn’t match quite as well as we would like it to, we were able to get off the restoration in tact, send it back to the lab and have them restain or add some more incisal, whatever it needed. We were able to cement or place the same restoration we just took off. | |
| Obviously, we’re not going to recement these, but it’s certainly going to save me time and also wear and tear on my handpiece and the amount of diamond burs I go through if I can get the majority of these off utilizing the Erbium. As I mentioned, sometimes it’ll come off as an entire piece. Other times, you’ll hear kind of like a snap and the porcelain just breaks off in chunks, now we can peel it away, and we can use even a fine finishing diamond to remove the excess cement. | |
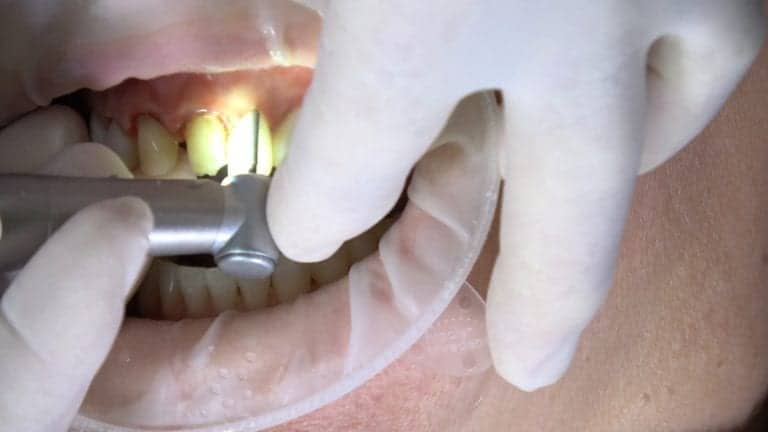
| Let’s go ahead and remove these with the Erbium. Anytime you use the Erbium or any laser, make sure you have laser glasses that are specific for the wavelength. Again, the Erbium has a wavelength of 2940, so we want to make sure our glasses are designed for that wavelength. | |
| Lots of water, Erica, you’re going to hear this tapping sound, but you shouldn’t have any discomfort. You just let me know, okay? Erica’s numb because we just did a gingivectomy with the Erbium just to bring up the tissue on the right central and lateral incisor to get a little better symmetry. Let’s go ahead and get started. Again, the nice thing about our handpiece, 60 degree angle versus 90 degree, which is very unusual for us as restorative dentists. We’re going to go ahead and push the ready button. Now, we are going to use water with this and again relatively low energy. We’re just going to go back and forth over the surface of the restoration. | |
| Now, I set the timer. The other nice thing about this particular Erbium, the Light Touch, it actually has a timer. Typically, it’ll take me about 60 to 90 seconds to remove a restoration like this, so I set the timer for 30 seconds so I know exactly how much time I spend on this restoration. We’re still doing this. We haven’t done the picking thing. | |
| Is that okay? | |
| We’re going to go ahead and try to remove this veneer on the left central. The laser energy goes through the glass. I have this timer set on 30 seconds, so we’ll do two or three rounds of 30 seconds. | |
| Just going over the entire surface of the restoration. May take a little bit longer if the restoration goes interproximally on her existing veneers, actually break through the contacts and wrap over slightly. All right. Because of the thickness of these restorations and also because they’re really like reverse three-quarter crowns, they went interproximally, lots of times we’ll see where they won’t pop off as a single piece or with a laser alone because of just the retention of the prep. Also, because they went onto the lingual, it was difficult for me to get the laser energy interproximally on that lingual portion. | |
| What I’m going to do is I’m just going to make a slot down the veneer. Again, instead of having to take the diamond to remove this entire veneer, I’m just going to take a crown separator, put it in the slot, and you can see how these pieces just came right off. We had a very retentive prep. It went to the lingual interproximally, and so the laser aided in just removing most of it, at least the bond, and then when I made a slot and torqued it the whole thing just came off. | |
| We’ll do the same thing with the laterals. We’re going to go ahead and take the laser. The lateral is similar to the centrals in the fact that it is also wrapped onto the lingual interproximally. We’ll try to get the laser energy interpoximally as much as we can. I have it set for 30 seconds. Let’s do a second one. There’s a lot of enamel this is bonded to as well since it wraps over both incisally and interproximally. Okay, so, that’s one minute. | |
| Okay, so, let’s go ahead and make a groove in this one. Erica, let me know if this is sensitive at all. I’m just going to go right down to the cement through the porcelain. We’re not going to go into the prep. Now, what you’ll see is because the laser disrupts the cement, you’ll see a darkening, brown, sometimes a gray-brown, even kind of blackish, but it’s still all ceramic here. You can see the thickness of those. I would be surprised if the laser made it all the way through that anyway. You can see the black there. That’s just the cement that is discolored. Then we’re going to go ahead and take our crown separator. Okay, let me have number 12. You can see the darkness. All that is is the resin cement. You’ll see how easy that’ll polish off. | |
| On the distal, I’m just going to take this Bard-Parker blade. Completely popped off. You can see that I was able to save quite a bit of diamonds with that. Then I’m just going to take a fine diamond and you’ll see what this does. That’s just the cement is barely polishing that. | |
| We’re able to go in there and remove these restorations without removing any additional enamel. Same thing here. You can see a little bit. I used the same technique for this central. Little bit of porcelain stayed on the enamel and the lingual. We’re just going to go in and just polish that up. | |
| Let’s try one more. Turn to your right a little bit. Are you okay? Any sensitivity at all? Okay. | |
| You can see the water bubbles come up over that margin. This canine, similar situation as the laterals and centrals, very opaque and wrapped over interproximally as well as onto the lingual. We’ve got enamel bonding on the lingual, most of the enamel bonding on the facial. There’s our 30 seconds. We’re going to go another 30 seconds. Really try to get interproximally. | |
| The cool thing about this is you saw with those other teeth is, yeah, sometimes it’s nice if it’ll come off as an entire unit, but you saw how difficult it was, because I think these are actually e.max, how difficult it was to even make that slot. Can you imagine if these were bonded properly, which I think they were, how difficult it would be and how time-intensive it would be to have to grind these entire things off. I’m just going to try to torque it. I can’t really get a purchase underneath that margin, so we’re going to make our slit. Again, you can see this is a medium-course diamond. I’m pushing hard and it’s difficult to cut through this. For those that have cut off existing e.max veneers or crowns, you know exactly what I’m talking about. You go through a lot of diamonds. It’s time-intensive. It’s noisy. Usually, the most difficult aspect of the entire process of replacing the veneers is the removal of the existing. | |
| You can see how thick, it’s almost two millimeters thick. You can see the darkening near the lingual third. That’s where the cement has been affected by the laser. Again, these existing veneers, they wrapped over considerably onto the incisal edge. I’m still only in porcelain. Previous dentist went about a third of the way down the lingual, so I’m going to go ahead and do that. Again, I’m not into enamel at all. We made our slit. Now, that time I only did 60 seconds with this. Let’s see if that was enough for this thick veneer. Yeah. You can see the entire distal debonded with the laser. This whole piece is just going to flick right out. You can see the little darkness. That’s the cement debonding. Also, the cool thing about this is I don’t have to take the bur interproximally again. Let’s see if there was enough on that. [inaudible 15:25] in only 60 seconds. Let me have a number 12. I’m going to use a little bit more laser here. Yes, there. How cool is that? | |
| Again, because this was almost a reverse three-quarter crown, we had parallel-sided walls, I couldn’t get a purchase point underneath that, and so we were able to just take the satin and take that away. You can see there’s still a little excess cement on there. This is why I’m saying this is so cool in the fact that we’re not removing anymore tooth enamel. This is all cement here. We’ll just take a fine diamond and just polish away the cement. That’s all cement. This is all cement. This is cement. As I reprep these veneers, it’s really going to be with a fine finishing diamond. Let’s go ahead and rinse that. | |
| All right, so, the four restorations, the right central and the incisor and canine on the left, we used the laser, the Erbium-YAG first, and then we made a slot and they just popped it off. This lateral, I’m not going to use the laser first. We’re going to go ahead and make our slot. Erica, let me know if it’s sensitive again. You can see how hard it is to cut through this lithium disilicate. Again, they linked in considerably. We went through the ceramic just like we did with the other four. Now, we’re going to try to torque this. You can see it doesn’t break at all because it is bonded to the tooth structure. | |
| Let’s do a little exercise now that we made the slot. Let’s see if we can help this. Just dry that off for me a little bit, Jessica. You saw the difference between making that slot and using laser versus not using the laser. We’re going to go ahead and use the laser after the fact. You can see the cement turning brown. That means the laser energy is getting through the glass. Now, let’s go ahead. That was only 30 seconds. Let’s see if that made a difference. Yeah, look at that. That just popped right off. | |
| Again, the advantage of the Erbium was saving time, less trauma, and saving diamond burs. Look at that. Just able to take if off with a number 12 Bard-Parker. Very, very cool. | |
| You can see that the use of the Erbium certainly aided us in getting off these restorations much more quickly and less traumatically if we just had to grind the entire restoration off. In a perfect world, it would have been nice if they came out in one piece, but the fact that it was only 60 seconds per restoration, we just made one little slot, we stayed in ceramic and a little bit of resin, we didn’t remove anymore enamel or dentin, and we just torqued that slot and the two pieces came off in two complete pieces, faster, quicker, less trauma, that’s good. | |
| Anyway, I hope you enjoyed this removal of restorations utilizing the new AMD Light Touch Erbium-YAG laser. |