Digital Denture Protocol
How to produce a digital denture from start to finish
Introduction
General Dentists who have adapted to new dental technology to create digital dentures have found that patients are more satisfied with their new dentures than those fabricated using traditional denture methods. Dentsply Sirona’s research found that nearly half of the patients surveyed were unhappy with their current dentures. In addition, 45% of those patients reported poor fit, pain, or retention problems. We will discuss why digital dentures are better than traditional dentures and how to use the four-step process for creating a new digital denture from start to finish.
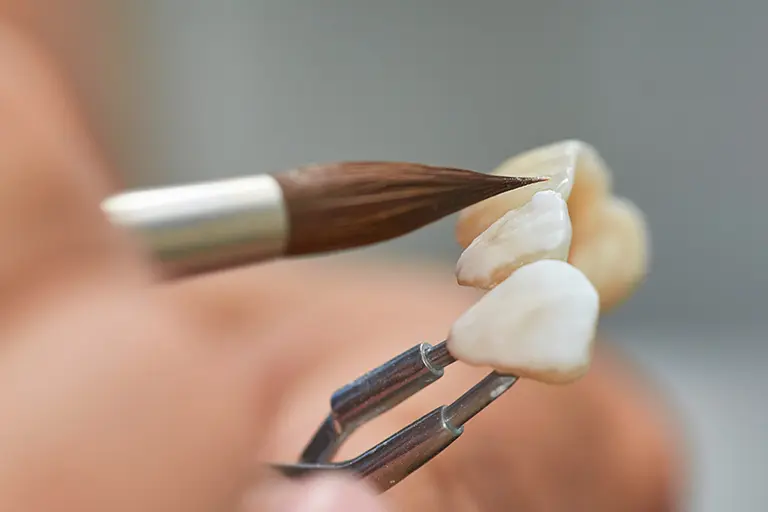
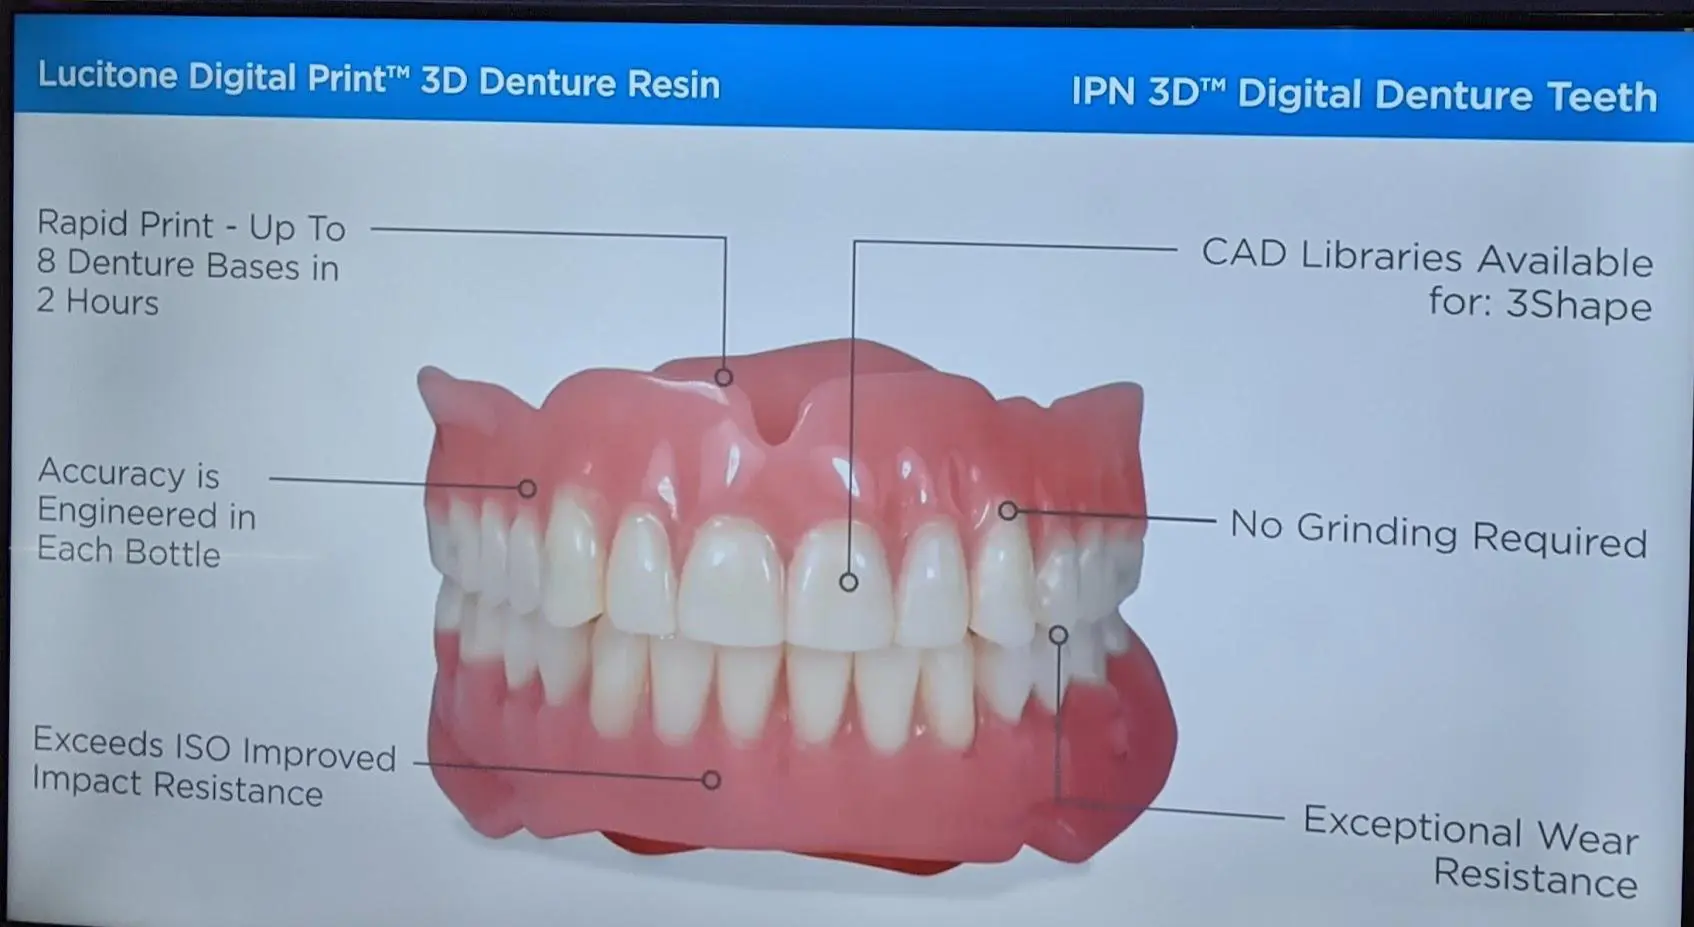
What is Lucitone 3D Digital Print™ Dentures Complete, and Why Does it Matter?
The Lucitone Digital Print Denture™ System delivers accuracy, efficacy, and repeatable results building confidence for you and your patients. Keating Dental Lab uses the recommended Carbon® M2 printer to fabricate Lucitone Digital Print™ 3D Denture Base. We also incorporate Dentsplys Lucitone Digital IPN™ 3D Premium Teeth. The Lucitone 3D Digital Print™ Dentures Complete by Keating Dental Lab has many benefits over traditional denture methods and materials. Below you will find all of the reasons why. Please click the links to learn more or click to open more info regarding the Lucitone 3D Digital Print™ Dentures Complete.
Visit www.dentsplysirona.com/lucitonedigitalipn to learn more
Dentsply Digital Denture : Unmatched accuracy for excellent outcomes
Lucitone Digital Print Denture Clinician Brochure
MORE ACCURACY MEANS LESS ADJUSTMENT
Greater accuracy leads to a reduction in chairside adjustments and denture follow-up visits, saving valuable time.
UPGRADE COMFORT AND FIT WITH GREATER ACCURACY
Incorporating digital denture workflows brings greater accuracy to your work, which leads to better comfort and fit for your patients’ dentures.
ENTER ANOTHER DIMENSION IN DENTURE ACCURACY
Computer-aided design/computer-aided manufacturing (CAD/CAM) processes in 3D printing elevates the accuracy of the final appliance to a new level of precision.
Improving the efficiency of your practice
Digital dentures mean fewer chairside steps and quicker communication with your lab, improving the efficiency of your practice:
- Fast replacements for lost or damaged dentures – digital records make denture reprints quick and easy*
- Electronic communication between you and your lab – greater efficiency and less time wasted
- Impression Flexibility – Lucitone Digital Print Denture workflows allow for the use of traditional impressions, or an intraoral scanner for a reference denture workflow
*Confirm data storage with your laboratory.
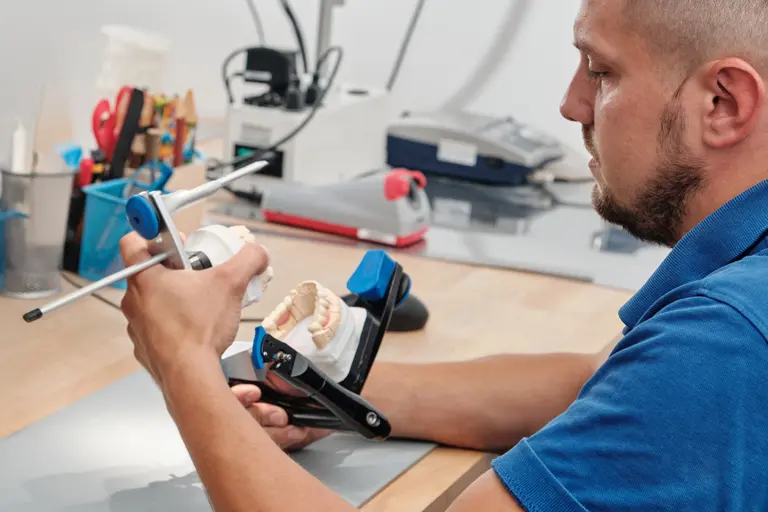
How to Produce The Four Appointment Digital Denture by Dentsply Sirona and Keating Dental lab.
Dentsply Sirona has put together a step-by-step process that the clinician will undergo during the digital denture treatment. This four-step treatment plan will ensure proper guidelines to create an outstanding digital denture. Usually, the traditional complete denture method would take five steps. However, Dentsply recommends four steps for new denture patients. You can also save time if the patient already has a previous denture that can be scanned. Below are the four steps for new denture patients. Please follow the link below for a more detailed version which include photos of each step. The information provided is from Dentsply Sirona.
New Denture Clinical Workflow | Lucitone Digital Print | North America
Appointment One
- Evaluate the patient
- Capture the preliminary impression(s) using alginate or alginate substitute VPS material
Laboratory Step One
Fabricate the baseplate(s) and wax rim(s)
Appointment Two
- Border mold using VPS material
- Wash impression using VPS material
- Capture the plane of occlusion, lip support, vertical, and central incisor length
- Record measurement – “width on curve” or distance from distal-distal of canines and the midline
- Capture the bite registration
- Scan the bite registration and impression surfaces
Laboratory Step Two
Design and print the try-in denture
Appointment Three
- Insert and evaluate the printed try-in
- Evaluate the vertical, occlusion, midline, tooth length and record adjustments as needed
- Evaluate the fit – take a wash impression if necessary
- Capture the try-in bite registration
- Scan the bite registration (and the impression if taken)
- Notate criteria for re-printing the try-in denture or printing the final denture: – If the changes exceed 4mm reprint the try-in with the new adjustments – If the changes are 4mm or less, print the final denture
Laboratory Step Three
Design and print the try-in denture
Appointment Four
- Insert and evaluate the final denture
- Verify the fit, vertical, occlusion, midline, and tooth length
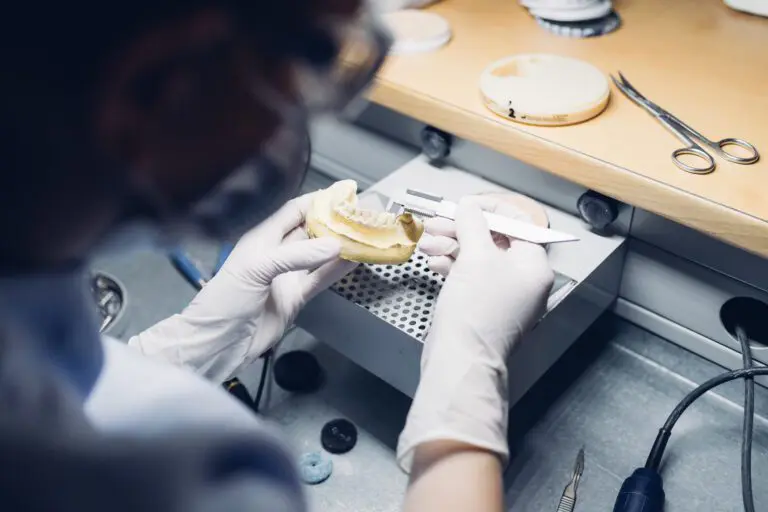
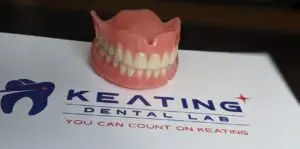
Why Keating Dental Lab for Digital Dentures?
We have a solid team of technicians in our denture department. We use the latest and greatest technology and do not outsource any of our work. Our Removables manager has a wealth of knowledge and many years of experience. We have adapted to the technology at its earliest stages. We follow the protocols and will assist you through the process. We continue to provide excellent service to repeat customers who trust our brand and can count on us to get the job done right. We believe in our products and the organizations we work with and trust Dentsply materials and Carbon 3D printers when creating digital dentures. One more thing, we include the try-in denture with the final cost of the denture, so it’s free.
 Written by Kyle Keating
New Business Development
Keating Dental Lab
P: 1 (800) 433-9833
A: 16881 Hale Ave, Irvine, CA 92606
W: keatingdentallab.com E: [email protected]