“Simplifying and providing predictability at your smile design appointment”
As the clinical director of education at Keating Dental Lab, I am asked often by our dentists how best to take control of the veneer preparation appointment to ensure optimal results. With this in mind, I have created a Preparation/Provisionalization kit that will simplify this very important and often times, confusing appointment with you patient. (See figure 1)
The goal of the kit is to matrix a set of matrices to act as prep guide to ensure that you do not under prep, or over prep, the natural teeth to yield the desired result. This kit also includes an aesthetically designed wax-up and a putty matrix of the wax-up to use to fabricate beautiful provisionals easily and predictably.
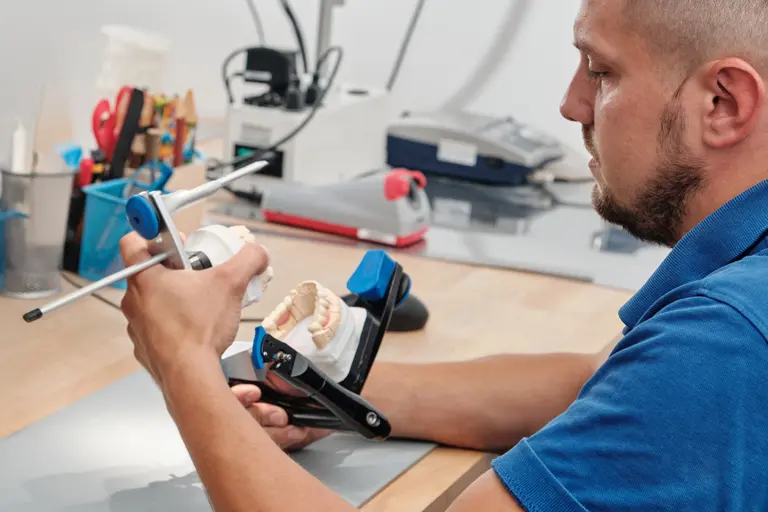
The kit begins with the aesthetic wax-up. Terilyn, the diagnostic waxer here at Keating is one of the very best waxers I have ever worked with. As long as you provide the smile design parameters such as length, profile, buccal corridor, incisal edge position, and any other information that you gathered with your patient at the smile design consult, you will receive a beautiful aesthetic and functional wax-up of the teeth to be prepared. (See Figure 2)
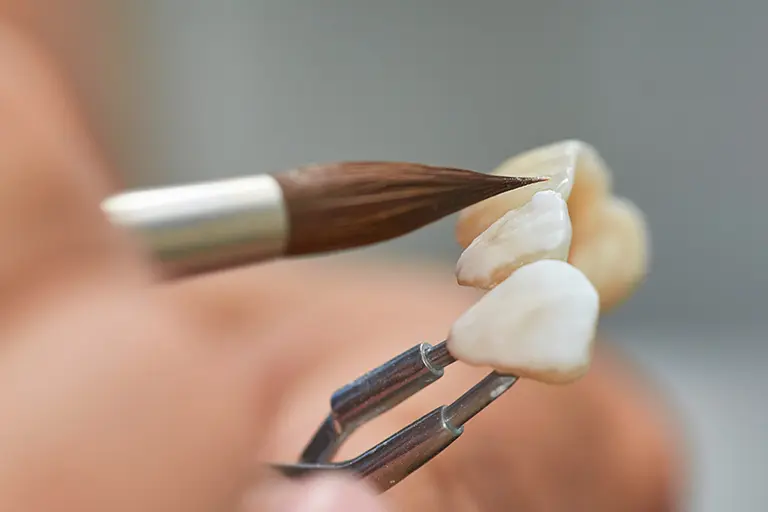
After the wax-up is completed, 3 different putty matrices are made over the wax-up. One is the full contour putty matrix to be used for determining how much tooth structure will need to be removed for the definitive restorations and also to fabricate the provisional. (See figure 3)
The other 2 matrices are used as clearance guides. One is for the buccal or facial surfaces and the other is for the lingual surfaces. (See figures 4 & 5)
The final item that is made is a clear plastic matrix. This is used to match any tissue changes in the mouth that may have been made on the model during the wax-up to improve symmetry and aesthetics. This clear matrix can also be used to ensure adequate reduction. (See figure 6)
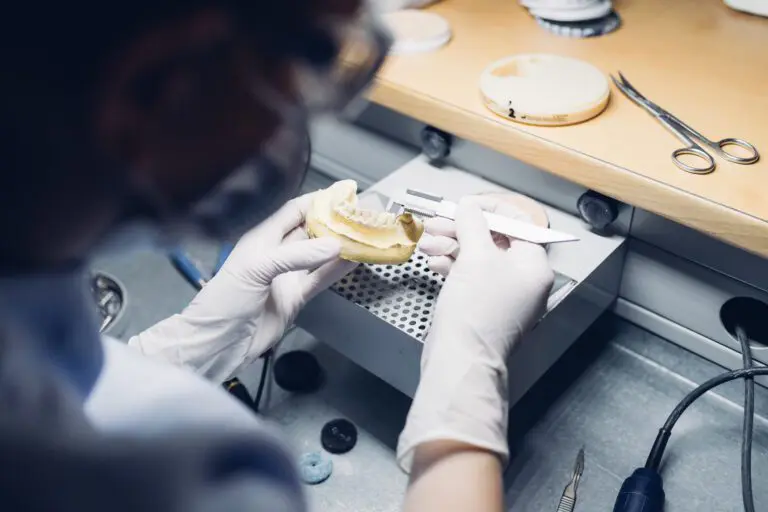
The diagnostic/aesthetic waxer will send you a model of the areas that had to be modified prior to beginning the wax-up (see figure 7)
Usually these areas are marked in black. I call this “model-plasty”. Any areas where the teeth are misaligned or over-contoured to meet the aesthetic and functional desires will need to be modified prior to beginning the wax-up. Using this model where changes are made, reproduce this in the mouth. (See figure 8 & 9)
If the enameloplasty exposes dentin, anesthesia will be required. After the enameloplasty is performed, try in the facial and lingual/incisal matrices to ensure that you have removed enough the enamel/dentin. (See figures 10 & 11)
The clear matrix can also be utilized to ensure adequate tooth structure is removed. If tissue levels were modified by Terilyn, this can be evaluated using the clear matrix as well. (See figures 12 & 13)
After reduction is verified, load the putty matrix is loaded with a BIS: Acryl material (I prefer Luxatemp Fluorescence) and placed in the mouth for 2 minutes. (See figure 14)
After 2 minutes, gently remove the putty matrix, leaving the BIS: Acryl in place. (See figure 15)
After putty removal, evaluate the aesthetics of the wax-up transferred to the mouth. (See figure 16)
After aesthetics are approved, use a 0.3 mm depth cutting diamond (Brasseler #) or 0.5 mm depth cutting diamond (if teeth are greater than 2 shades darker than final desired shade), and place depth cuts into the intra-oral mock-up transfer in the gingival, middle, and incisal thirds. (Figure 17-22)
Depending upon the amount of incisal characteristics desired by you and the patient (I prefer 1.5 mm), place a depth cut into the incisal edge using a chafer diamond. (See figure 23)
After incisal and facial reduction is made, remove excess BIS: Acryl using an explorer or Scaler, and evaluate the teeth for any remnant of the depth cuts. (See figures 24, 25 & 26)
This particular case was very conservative due to the teeth be retroclined so depth cuts into the BIS: Acryl were only seen at the mesial line angles of the laterals and the incisal edges. Using a diamond chamfer, remove the tooth structure down to the depth cuts. (See figure 27)
Final preparations utilize light chamfer margins placed at tissue level (slightly supragingival) and rounded line angles. (See figure 28)
Distal decay from present on both centrals, so interproximal reduction to remove caries was performed.
After final impressions are taken and all additional records, provisionals are made using the “Shrink to Fit” technique and the original putty matrix with BIS: Acryl (see figures 29-31)
Photos are taken of provisionals at full smile close-up, chin-to-eyebrow, and profile for further evaluation and lab communication.