Preparing for a Full Dental Reconstruction Procedure
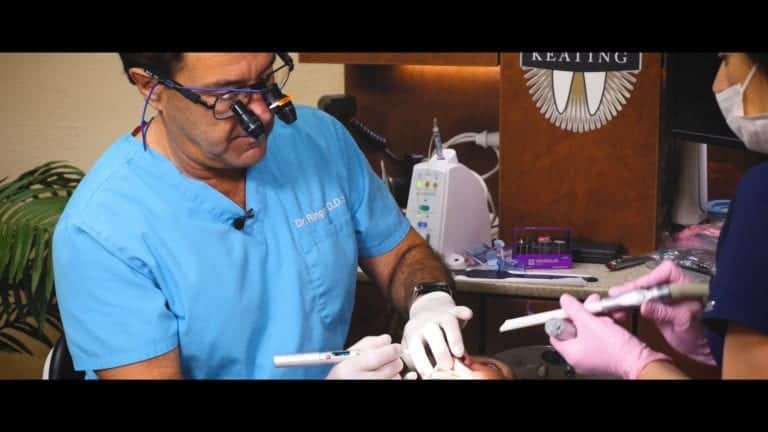
Unlike most dental procedures that require numbing, we’re going to use a computer-assisted anesthetic. This will inject the anesthetic one drop at a time, and be very accurate. We’re going to be doing a significant amount of work on Darryl today, but he won’t feel it.
And because of the method we’re using to inject the anesthetic for the top nine teeth, the face won’t be numb — just the teeth and gums. (Dr. Ringer placed the injections into the roof of the patient’s mouth.) For the bottom nine, there will be some slight lip numbness, but his tongue won’t be.
Before we begin placing the provisionals, we’ll need to remove some gum tissue with a dental laser. This is due to his gum line and short teeth. This is a simple, painless procedure that can help give Darryl the best results possible on his smile reconstruction.
The last step will be taking measurements and using a digital scanner to take an impression and a digital bite. These files will then head to the lab to make the prototypes.
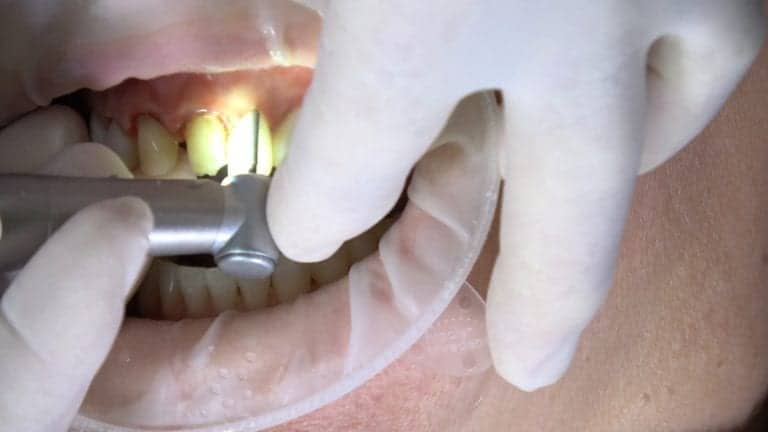
Using a Diode Laser in Dental Reconstruction
Because of the gum line present in this case, we’re going to remove some of it with a diode laser. Diode lasers give us the chance to remove and shape tissue without pain or bleeding, making them an ideal tool for dental restorations.
Once we ensure that the new gum line is symmetrical, we’ll move onto drilling. Because Darryl has lost a significant portion of the edge of the tooth, Dr. Ringer has chosen to use a “taco shell” veneer that wraps around the edge of the tooth.
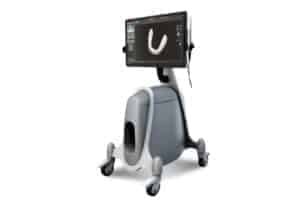
Taking Digital Impressions for a Dental Restoration
The next step is to take a digital impression so we can make accurate veneers for Darryl. This is done by drying the teeth and placing a bit of powder. Digital scanners have vastly improved over the past few years, and it’s one of our favorite tools for dental restorations.
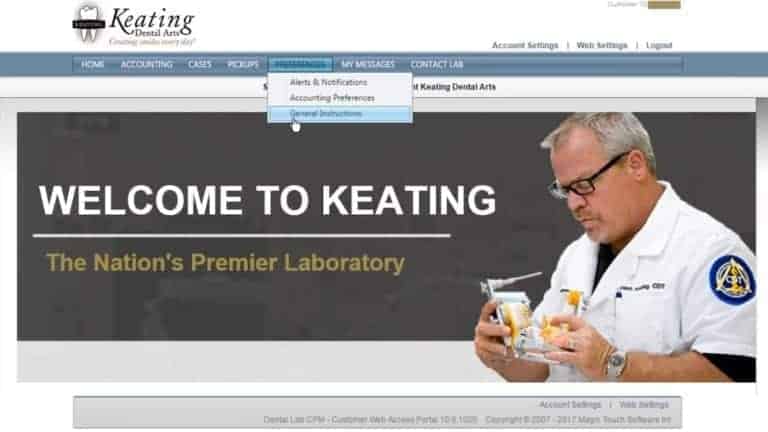
A digital scanner also means no messy impressions and the files can be immediately sent to the dental lab.
Creating the Provisional Veneers for a Dental Reconstruction
Before we can place the final veneers for Darryl, we’re going to place provisionals. These veneers feature a fairly generic shade, but his final veneers will have a beautiful translucent appearance and feature polychromatic shades. (The temporaries used are Bis-acrylic.)
Now that we’ve lengthened his teeth, we’re excited to get Darryl in his final veneers. He started with less than eight millimeters, and ended with around eleven. This alone will give Darryl a major improvement!
Now that we’ve finished with the initial prep, we’re going to send the digital impressions, measurements, and other necessary information for the ceramists to begin making his final veneers. Once this is finished we’ll seat all eighteen veneers, so keep an eye out for that video.
We’re excited to share more videos with Dr. Jack Ringer, but until then you can head to our Video page for additional examples of dental restorations and our favorite tools in use.