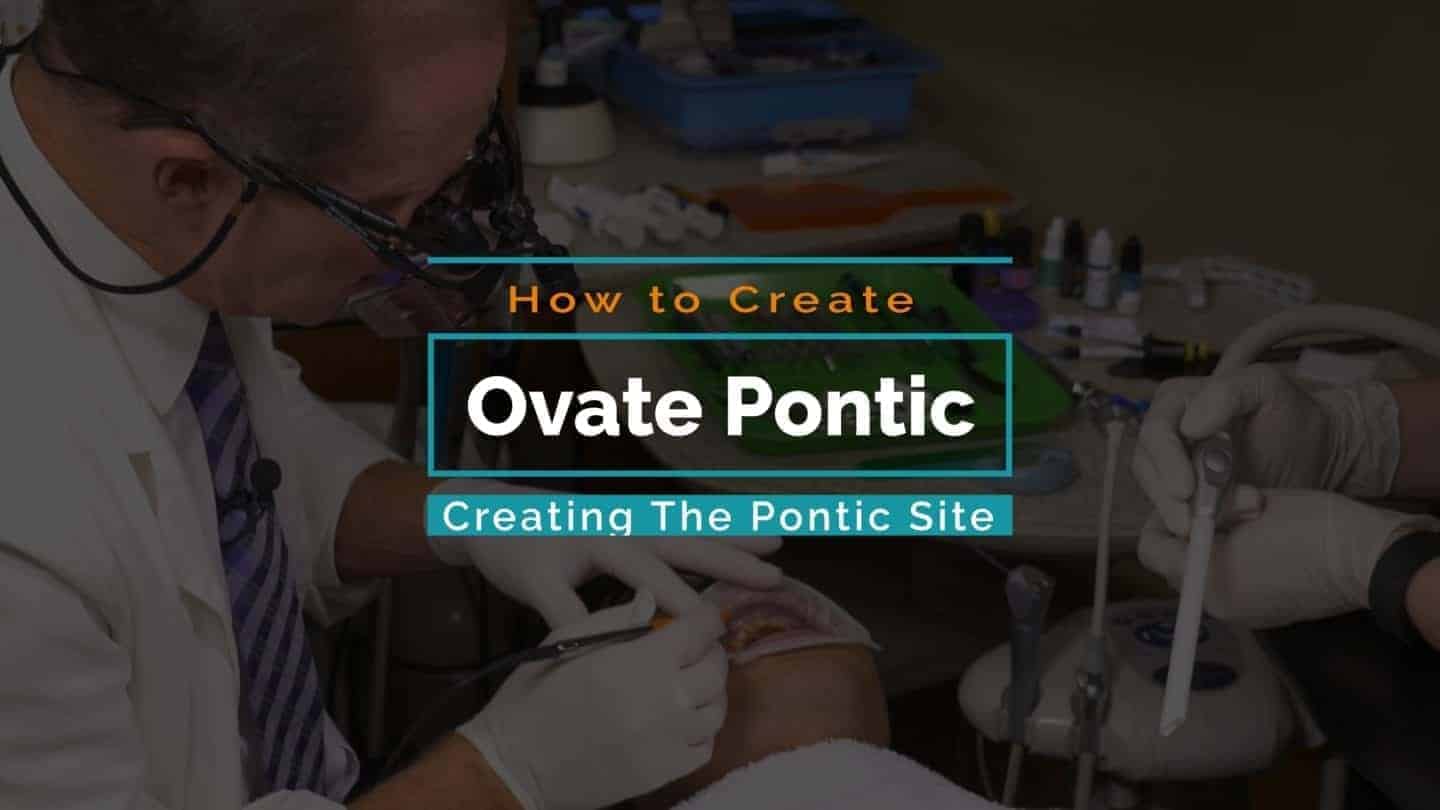

Performing an ovate pontic procedure gives you the opportunity to give your patients a natural looking Zirconia bridge with very little discomfort. We’re replacing a ridge lap pontic today on Kenny, where we’ll then perform an ovate pontic to create a space for his new, natural-looking Zirconia bridge.
Product Spotlight: KDZ Bruxer® Aesthetic:
Get the Special Discount from this video: https://www.keatingdentallab.com/kdz-bruxer-aesthetic
Video Transcript:
| Dr. Hornbrook: | Hello, I’m Dr. David Hornbook, clinical director of education and technology here at Keating Dental Lab. Today we’re going to do a procedure called an ovate pontic. Here is Kenny, and he’s actually missing the maxillary right canine. In the past, he had a bridge, you can see from this photo, that utilized a ridge lap pontic. Traditionally, at least what I learned in dental school, we had 2 options, we either had a ridge lap that look like you took a tooth and superglued it to the front of the ridge, didn’t look natural, or we did a saddle pontic. The problem with the saddle pontic, as it wrap over the ridge, it created a concavity or a plaque trap and it wasn’t healthy, very difficult to clean. |
| We’re going to actually create what we call on ovate pontic site, and in the laboratory we’ll create a pontic that fits into this site, so we’re creating with the pontic itself not only the coronal aspect of the tooth but also part of the root for him. The nice thing about this pontic, it’ll look very, very natural because it will look like it’s growing out of tissue like a natural tooth, but also it’s all positive or convex contours like an egg so it’s very cleansable for him. | |
| To create this site, we’re actually going to use a diode laser. We’re going to use the Picasso Lite diode laser. Now, the Picasso is a soft-tissue cutting laser. It’s made by AMD Lasers, excellent, excellent device for this. As you can see, we see a little red beam. That is actually the aiming beam. That’s not the laser. In fact, the laser is not even turned on. Normally, we’d use this so that we could see a little bit better, but because of the photographic purposes, I’m actually going to turn the laser beam or the aiming beam off. Then you can see it’s off there, okay? | |
| Kenny is numb. Then the healing with the diode laser is exceptionally fast. It’s postoperative pain. In fact, the only postoperative pain you’ll have are from the injection sites. You can see the little hematomas from the injection sites here. With the diode, we do want to wear protective glasses. Kenny has protective glasses. Jessica has glasses. Since I have my loupes on, I’m going to use this actually over my loupes. When we’re making a cut, we actually initiate the tip, and we’re going to use pretty low energy. | |
| Kenny is Vietnamese. He’s got a lot of melanin in his tissue. The diode laser is attracted to dark pigmentation, the more melanin the lower the energy. I’m actually going to start at 1.2 watts. This is continuous wave with an initiated or activated tip. The way we activate that tip … Get it over my loupes, because the tips come uninitiated, we’re actually going to put it in a little articulating paper. You can use a sharpie felt pen. You could use a cork. What it does, it just puts dark pigmentation on the end of that laser tip, and then it’ll focus the energy or focus the laser. Let me know if you have any discomfort here at all. | |
| Kenny: | Mm-hmm (affirmative). |
| Dr. Hornbrook: | Now, our goal with this, I want to envision exactly where that tooth could be exciting the tissue. I’m very visual. I’d like to imagine, I just extracted that tooth, where would the whole be, and what the diameter would be. It’s not going to be facial. It’s going to in the center of the ridge. Are you okay? |
| Kenny: | Mm-hmm (affirmative). |
| Dr. Hornbrook: | What I’m doing here is outlining the pontic itself. Again, keep in mind what the diameter that route would be. There you can see the starting point. I’m going to bump up the energy a little bit. 1.2 watts is not that high. I’m going to go to 1.5. Imagine you’re creating a little socket that a little egg is going to fit into, with the apex of that egg being dead center on the ridge. In low energy, because the healing will be much quicker, and also the tissue will stay exactly where we put it. What we’re going to do is then create a provisional that’ll maintain that site. |
| The mistake I frequently see, not only with clinicians I work with but also in the laboratory, is dentist will make this ovate pontic site too small, so it really doesn’t correspond to a root form. I touch the laser. Typically I like to go about 2 to 3 millimeters deep. I want to go as deep as I can. What we do need to do is make sure that we have enough tissue between the apex of the pontic and also the periosteum. We need at least a millimeter. I’ll go ahead and probe. I’m about 3 millimeters, which means I can go 2 millimeters deeper, which will make a really nice ovate pontic design. | |
| Then facially, I’d like to bring the [zinose 00:06:56] or the apex of that tissue up where I’d want that canine to be, which would be a little bit higher than lateral. We look at there. Let’s go ahead and take our periodontal probe. Again, we need 1 millimeter. We’re at about 2. I’m just going to clean things up a little bit. I like the depth. I like the diameter. We’re then going to take a little bit of hydrogen peroxide. This is just in the syringe with an alternate tip, and we’re going to remove what we call the laser char, which is just that dark remnant of tissue as we lasered. Notice there’s no bleeding whatsoever with this, which is so nice. Okay, go ahead and rinse please. | |
| Go and rinse. Then I’ll just clean up a little bit more here. Okay. A little bit of hydrogen peroxide, and remove the laser char. Again, notice there’s no bleeding whatsoever. Go ahead and rinse, dry, and there’s our ovate pontic. Our provisional fit down to that site to maintain it, because I said there will be no postoperative pain with that at all. Again, the diameter is such that it would be the root form in this particular canine. We want to make sure the facial portion is up where we want the height of the tissue. Then the ceramics and we’re going to do an all ceramic bridge here. We’ll create a pontic that exits that tissue just like a natural tooth. | |
| We’ll come back when we’re done and we’ll have the opportunity to show you what that ovate pontic looks like, and then as we put it in place, what it looks like in the mouth. The next time you place a bridge, especially in the anterior, start thinking about designing the pontic and the tissue so that it looks like a natural tooth, and it’s cleansable. That’s where the ovate pontic comes in to play. Again, the AMD Laser, the Picasso Lite is excellent for those, stable, no postoperative discomfort, very fast. I hope you enjoyed this episode on ovate pontics. |


