In our last video, we showed you how to perform an ovate pontic procedure with a diode laser in preparation for placing a KDZ Bruxer® Aesthetic bridge. Now, Kenny is back with us to have the provisionals removed and the final zirconia bridge and e.max veneers. There are a few advantages of using AMD’s Picasso Lite laser in creating the pontic site, which we’ll walk through while placing the bridge.
Product Spotlight: KDZ Bruxer® Aesthetic:
Get the Special Discount from this video: Click here
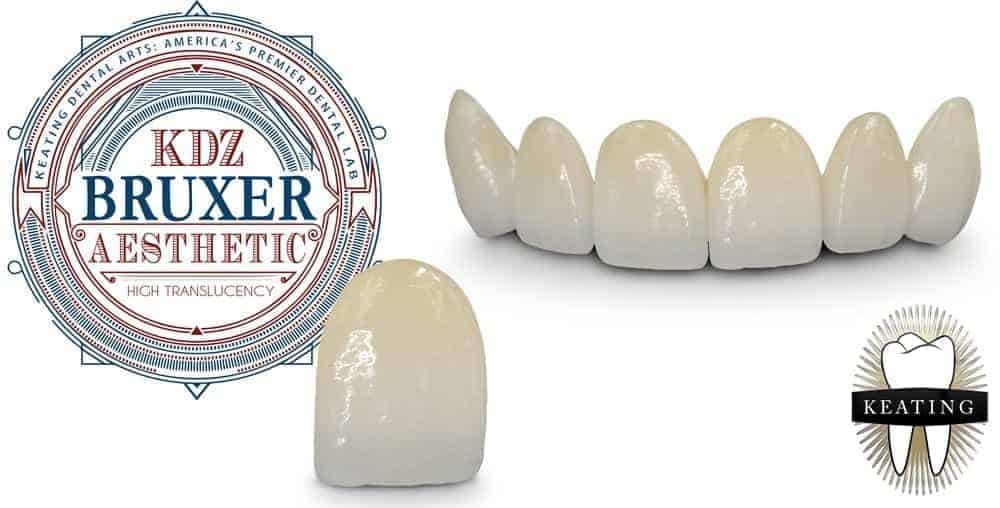
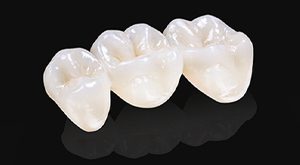
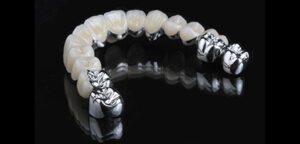
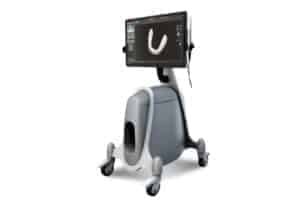
Three weeks ago, Kenny had an ovate pontic procedure and had provisionals placed for a zirconia replacement for his missing canine teeth. We used a monolithic zirconia as a replacement, which is the new KDZ Bruxer® Aesthetic. The pontic site was created using AMD Laser’s Picasso Lite Laser, which creates a very stable pontic site in regards to the tissue, then we placed provisionals to maintain it over the last three weeks.
Today, we’ll be placing his definitive bridges, which will give the look of a natural tooth. Kenny will have the KDZ Bruxer® Aesthetic, and the ovate product looks like an egg and has a positive contour, making it much easier to clean than other types of bridges. It’s important to maintain good gingival health, which Kenny will be able to do with the KDZ Bruxer® Aesthetic.
Removing Provisionals and Prepping the Pontic Site
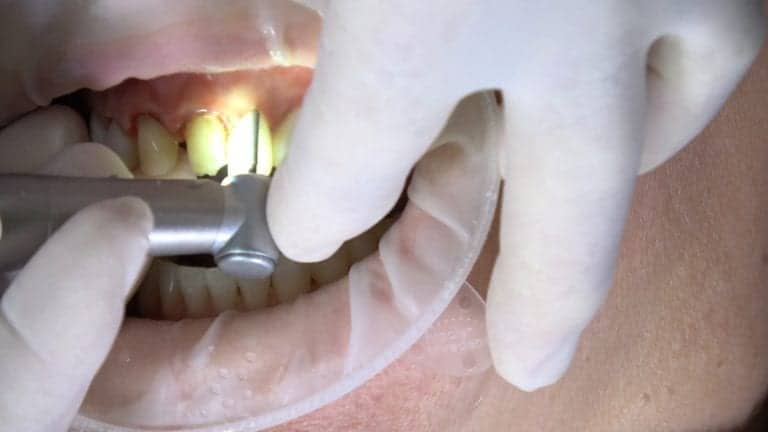
Kenny ended up needing his provisionals cut off, but with the laser it’s a quick and a relatively painless process. He’s kept the tissue nice and healthy, which makes this process much easier and will be better for his oral health overall throughout this dental restoration process.
We’re going to use some hydrogen peroxide to remove any amounts of laser char that appear as we continue to remove Kenny’s provisionals. Using the laser will also provide a good foundation for the restorations, because of the tissue stability.
Placing the KDZ Bruxer® Aesthetic Bridge
Now that the pontic site is ready to go, it’s time to place the KDZ Bruxer® Aesthetic Bridge. If there needs to be any binding on the tissue, we’re going to use Pascal’s Occlude, which is a spray powder. You’ll only need a thin layer for it to bind successfully, and you’ll let it dry. While it dries, you’ll dry out the pontic site, and put in the bridge. It will leave a green mark.
Once the restoration is seated, we can see if there is any excess tissue. If there is, we can remove it with the Picasso Lite laser, though in this case it’s unnecessary because the pontic site looks great and we have a complete seating. One of the biggest reasons there’s no need to adjust the pontic site is because we’ve used the laser instead of an electro-surge, acrylic burr, or diamond.
Bonding the KDZ Bruxer® Aesthetic Zirconia Bridge
Because the KDZ Bruxer® Aesthetic is translucent, we’re able to use a light-cure only cement. This clear gel that we’re using is effective so we can evaluate color, which is critical for these restorations. For the two anteriors—the centrals—Kenny will have the e.max instead of zirconia because they were veneers. When you use a quality ceramist, it’s possible to blend the e.max with the KDZ Bruxer® Aesthetic, as long as they know what the preparation colors are.
Now as we bond this into place, we’re going to use a resin cement that has a total etch system. Bisco’s All Bond 3 is our go-to choice. Once this is finished, Kenny will come back in next week for a follow-up to double check the pontic site. The tissue will be completely healed by this point, so we’ll be able to ensure it healed correctly and everything is looking good.
Using an ovate pontic and a laser together means that the tissue is stable, it heals well, and there’s no post-operative pain unlike when using the electro-surge. Kenny will be able to keep the pontic site and the KDZ Bruxer® Aesthetic clean, and it will look natural, which is the key of restorative dentistry.

