Dental Solutions for a Dark Tooth (Veneers and Crowns) |4K ULTRA HD| from Keating Dental Lab on Vimeo.
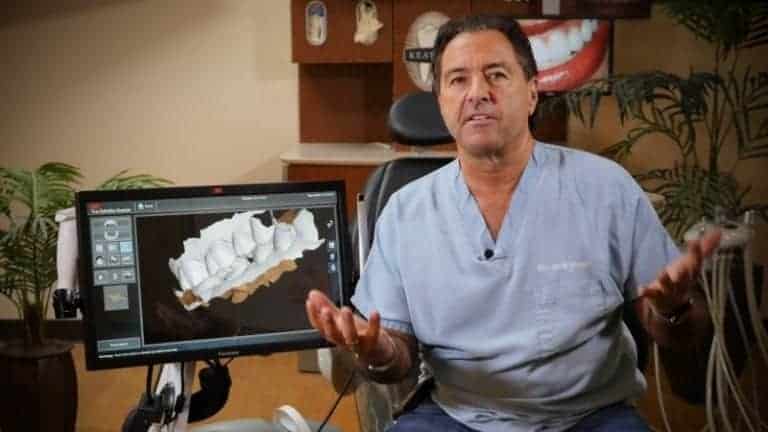
“What do I do about a dark tooth?” Whether it be a veneer or a crown, if the underlying tooth is dark, how can I hide that and still make it look natural? Dr. David Hornbook goes over all the options and solutions in this Dental education video formatted to increase the efficiency of your practice and helping you communicate this with your Dental Laboratory.
VIDEO TRANSCRIPT Dr. Hornbrook: Hello, I’m Doctor David Hornbrook, the Clinical Director of Education and Technology here at Keating Dental Lab. You know, a question that I’m frequentlyasked is, “What do I do about a dark tooth?” Whether it be a veneer or a crown, if the underlying tooth is dark, how can I hide that and still make it look natural? You know, I’ve got a cross section here of a tooth. Imagine this would be a veneer or it could a crown. Now, the reason why natural teeth look vital, because we have about a millimeter of this beautiful translucent enamel that overlies the dentin so the light penetrates through the enamel, hits the dentin, and then the lights reflects and refracts back through that enamel. Now imagine the tooth itself, the blue would be the final restoration or the outer layer. Our preparation would the be the black. Imagine if I had let’s say a situation where this prep might be like a V to C5 dark, dark grey. And that could be an endodontically treated tooth, could have been a traumatized tooth, it was just dark. If I wanted a final result of let’s just say B1, for example, so obviously going from a C5 to a B1 is a huge jump. One option would be to make this veneer or again, it could be a crown, very, very opaque. That would neutralize the C5. It would give us a B1. The problem is that a natural tooth where you have this very translucent final enamel layer, it would be very opaque. So light hits that surface and just reflects back. And we’ve all seen that, whether it be a tetracycline case or endodontically treated tooth where the final result, again whether it be a crown or a veneer, looks flat and fake.
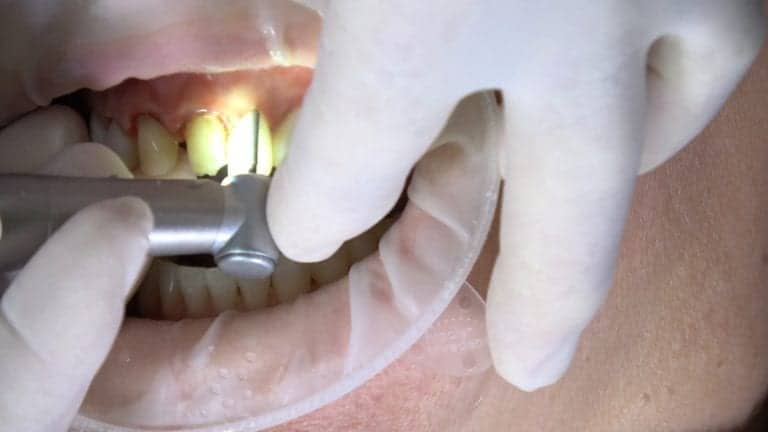
So what I like to do here, and I’m going to erase this, imagine we still have our, our B1. And we still have our C5, I just need a little room here. Typically, when we do a veneer prop, I like to have a thickness of about 0.3 [00:02:00] to 0.5 millimeters. That would be if we have a nice dentin shaded prep. And again, we want a natural broo-, bright final result. So 0.3 to 0.5 but remember, we’re dealing with a C5 so in these particular cases, I want to yield a translucent final result. So these are cases that I think we should actually over prep. Again, whether it be a tetracycline, endodontically treated tooth, or dark tooth. So instead of the 0.0 to 0.5, 0.3 to 0.5, I like to over prep this, especially in the gingival third. So now, we have about a millimeter reduction. Now instead of making this veneer or crown completely opaque, what I like to do is I will actually etch and prime and I’m going to pick a different color here. And I will lay down an opaque. Remember, now we’re at about 1.0 millimeter reduction. I will lay down an opaque and the oneI like is made by Kerr. It’s called Color+, color with a K. And the actually plus symbol, Color+ from Kerr. I lay down an opaque. I usually do it with an explorer. It’s a 40% filled material so it’s very, very opaque in a very thin environment. I put a very thin layer and the
what I’ll do is I’ll take a micro hybrid and there’s a, every manufacturer has one. I’ll lay a micrcohybrid over that opaque and that micro hybrid will be a nice dentin shade. So here, we started with a C5. We used a white opaque to neutralize that. We light-cured that. And then, we follow through let’s say with an A1 micro hybrid and now we redefine it so we still have our, our margin natural tooth structure. Now, the lab has this beautiful dentin shade. Since we’ve over prepped and let’s say this [00:04:00] opaque with the micro hybrid is somewhere about 0.5 millimeters, we have our 0.5 millimeters with the lab can make us a very translucent restoration. So we get vitality. One other quick hint. Sometimes, what we’ll see, especially with a thin biotype, we’ll see the darkness through the root. Imagine this is a traumatized tooth or an endodontically treated tooth and we’ve all seen it where you look … the restoration looks fine, the tooth looks okay, maybe a little opaque, but see this darkness through the gingival third. What I like to do in my prep, I still over prep. But I cheat a little bit. I like margins so stay super gingival or just slightly sub- gingival. But again, a lot of our color might be coming from 2 or 3 millimeters below the surface of the gingiva. So what I do is I keep my margin at tissue. Then, I drop a trough and I just use a [shan-ford nigh-man 00:04:49] and I go from line angle to line angle, keeping basically in the same contour as the root of the tooth, dropping this trough down about 2 millimeters. Then, I etch prime. And then what I’ll do is I will fill this trough with bright white. Again, I use the Kerr Color+ opaque and then carry it on to the rest of the prep and then take my micro hybrid and overlay that.
Sometimes, it works like magic but other times, if we have a very tin biotype, we still might get a little bit of greying. And just make sure you notify your patient there’s no way for you to completely get rid of that grey. But try this. We’ve had some unbelievably results. We can even do this as a full coverage crown prep. Let’s say there’s a metal post, we can actually prep into it. I’ve even actually exposed the post and then backfill with an opaquer. I hope that helps with your next case when you have a dark tooth and still want to yield a natural result. For More on Dr. Hornbrook’s Educational Videos and Classes visit us at: Keatingdentallab.com/Education2015

