There are many analog impression methods available today. Due to fact that the laboratory works off this impression to fabricate the restoration, it is vital to record the best impression to minimize the chance of producing an ill fitting crown restoration.
Dr. Jack Ringer DDS of Advanced Smile Design goes into detailed impression taking methods and discusses the differences between trays, impression mediums, and methods. Dr. Ringer explains the best route to choose depending on the clinical situation.
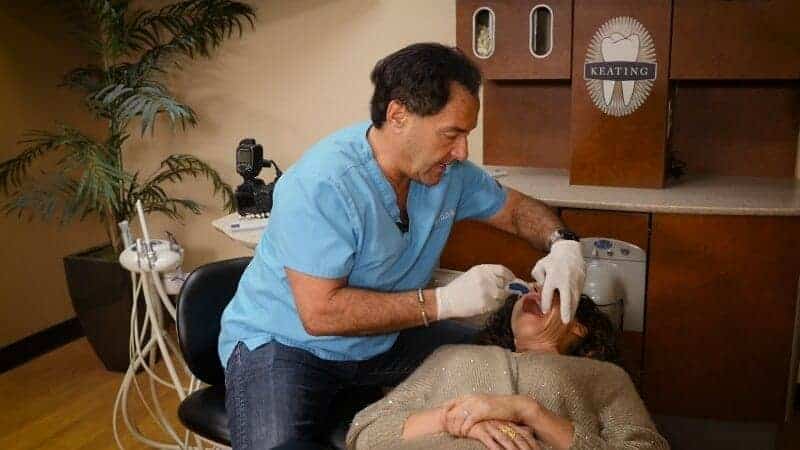
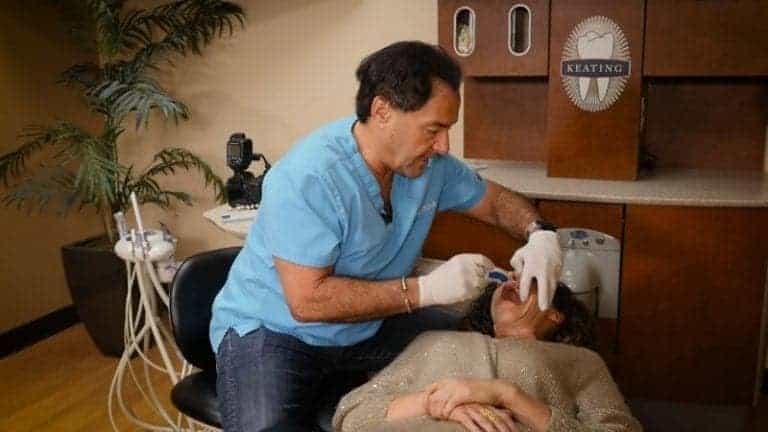
Creating excellent analog dental impressions is a key part of any dental practice, and can help make you more efficient when caring for your patients. Dr. Jack Ringer is with us today to share more about how he ensures a great dental impression every time, as well as his favorite products to use.
In this Dental Up video, Dr. Jack Ringer is sharing some techniques and tips to get the best analog dental impressions possible. When done correctly, these impressions will create a high-quality dental restoration that works on the first try. It’s worth taking the time to ensure the impressions work, so your patient can have the best experience possible.
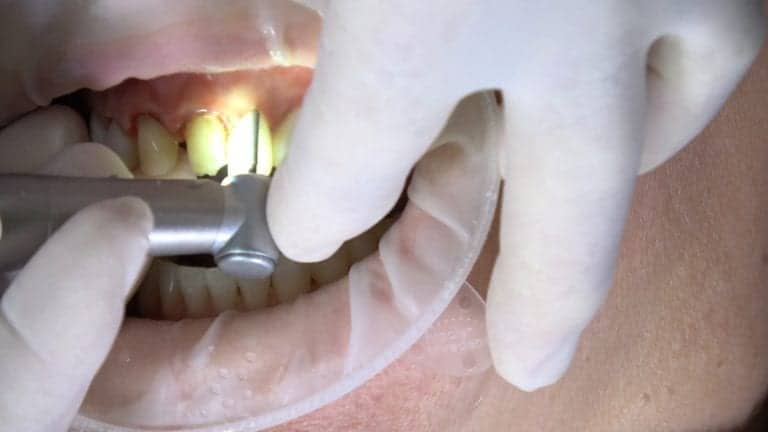
Preparing a Subgingival Dental Impression
The goal when creating an impression is to get the most accurate representation of the area possible. When working with impression material for analog impressions, there are a number of critical steps to ensure a usable impression. The better your impression, the better the dental restoration.
The standard used to be hydrocolloid impressions, but now many dentists use a polyether material like Impregnum, or a polyvinyl. Everyone tends to develop their own method when taking impressions, but it’s important to have a good foundation before customizing to your needs.
In order to prep the area correctly, you need to ensure a dry and clean surface. Before you insert the impression tray, you’ll want to confirm there’s no debris that could distort the impression. You will also need to ensure the margin area is clean and dry. Without clean margins, the final dental restoration may suffer.
Supragingival dental impressions are much easier, because you don’t need to worry about retracting tissue or placing cord. But when taking a subgingival impression, you need to ensure the margin is slightly below the gum line.
Isolating Subgingival Margins
There are a few ways to pack the cord when taking a subgingival impression. Regardless of your method, it’s important to be gentle when doing this step. If we’re in a hurry, it’s easy to push the cord down too far and risk damaging the periodontal ligament.
One method is to pack one small layer of cord, and another is to place one layer by the sulcus and a secondary layer on top of that. When it’s time for the impression, they then pull the top cord out and the bottom one remains.
Both methods work, and it’s largely up to your preference and the situation. Most importantly, though, the cord should not be covering the margin, the sulcus needs to be dry, and there should be no blood.
Using Retraction Paste for Subgingival Impressions
A newer technique that Dr. Ringer has begun to use is retraction paste. This acts as a retraction mechanism instead of cord. It’s injected into the sulcus, and it won’t damage the ligaments. So there’s no chance of trauma during the impression process.
This retraction paste also has a hemostatic agent. After placing the paste, you let it set for 90 seconds, rinse, and dry. This leaves a clean, dry, and visible sulcus, and is a great option for analog impressions.
Taking an Analog Dental Impression
Depending on how large the impression area is, you may need to use some cotton rolls, dry angles, or retractors to gently keep the patient’s tongue and cheek out of the way. There’s no one way to choose when to use these tools or not. Visualize what areas you need to reach and what will be covered by the impression tray, and ensure nothing will interfere with that space.
To take an analog impression, you’ll need the right impression tray and impression material for the patient. The tray largely depends on the type of impression you’ll be taking. Traditionally, metal trays were the most cost effective, but it would also require constant autoclaving.
Now that plastic impression trays are higher quality than in previous years, they are becoming much more common and are a great option for dental practices.
When using a polyether material like Impregnum, Dr. Ringer highly recommends using an adhesive on the tray. This ensures the material doesn’t move and distort, which is obviously a critical part of creating an impression.
Using the Correct Impression Tray
As dentists begin to do more quadrant dentistry, there is less worry in capturing the entire occlusion with a full tray. Instead, we can use quadrant trays. You will still need to take an impression taken of the opposing arch to capture the bite, but this process is now much more efficient and simpler than in the past.
There are also triple trays, which are ideal when you don’t need to worry about the occlusion in quadrant impressions. Impression material is injected onto both sides of the tray, which means you’re capturing the prep, the opposing arch, and the bite.
It’s important that these trays are not too flexible, or you will get some distortion. Some manufacturers place a metal rim around the tray, which can help keep the impression tray rigid.
Choosing the Ideal Impression Material
There are two primary types of materials for dental impressions: polyether and polyvinyl. Polyether has traditionally been known as Impregnum, and while it’s more expensive than polyvinyls, it offers slightly better results if there’s a bit of moisture.
Recent developments in polyvinyls have made them more hydrophilic, so they aren’t as problematic when small amounts of water are present. It’s also the most popular choice for impression material, and with the right process you’ll have fantastic results.
Taking Analog Dental Impressions
One of the more popular methods to taking an analog impression is to use a heavy-body material as the base, then inject the light-body material into the sulcus. Then, you’ll place the tray onto the area and let it set.
This gives you the best of both worlds: the heavy-body material offers rigidity, and the light-body captures every detail for the best impression possible. There is also a medium-body polyether, which sets in a few minutes and is injected onto the tray, then placed onto the desired area.
Finding the Best Impression Solution for You
Obviously, companies are going to say their material works best with their trays and tools, but ultimately the materials are all similar. This means you have the opportunity to find what works best for you, even if it’s choosing one company’s material with another’s tray.
But what you don’t want to change is the instructions. The manufacturers have the instructions for a reason, and taking note of any specific needs can help you get the best impression possible on the first try.
Potential Problems with Analog Impressions
As you continue to finesse your impression system, you’ll find ways to work around potentially damaging situations. This includes finding the right size tray to avoid distortion, or an air-inhibited layer on the mold.
Another common problem is finding bubbles in the impression. With a quadrant prep, it’s not as crucial to get it right on the first try. But when you’re doing multiple preps and the last one has a bubble, it can be frustrating. Some dentists try to rescue the impression by adding more material and placing it again, but this is often risking the dental restoration’s quality.
Instead, be careful when injecting the material and placing the impression tray. If done too quickly, both of these actions can produce bubbles.
When weighing the risks, it’s important to remember that it’s better to take the time now than have the patient come back in just to redo the dental impression because it’s too distorted for the lab. But when you do an impression correctly on the first try, you’ll save time, expense, and set your case up for success.
We hope you found this insightful, and we’re always grateful to have Dr. Ringer sharing his expertise with us! For more episodes on advancing your dental techniques, visit the Dental Up page.