
November 30 2015 — In this exclusive dental implant chairside lecture, Dr. David Hornbrook goes over a lot of Clinician-2-Clinican tips and secrets when it comes to Dental Implants and Custom implant abutments. Covering a lot of implant topics in this video, Dr. Hornbrook covers Custom Implant Abutments, transfer posts vs. final impressions, impression materials and much more. Also Learn how to communicate with your dental implant laboratory on custom implant cases.
Dr. Hornbrook Implant Video Transcript:
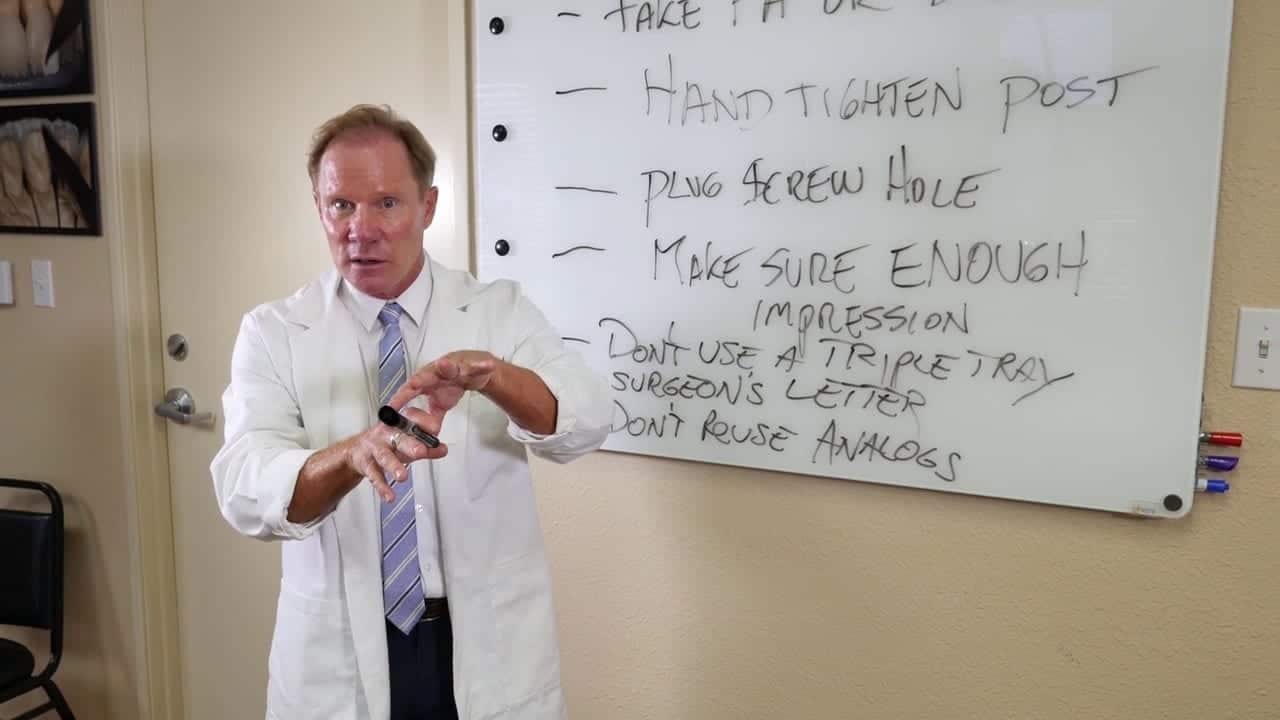
Hello, I’m Dr. David Hornbrook, the clinical director of education and technology here at Keating Dental Lab in Irvine, California.
I want to talk today about dental implants, what I call “chair-side implant tips”. At Keating we do a lot of implant restorations, not only abutments, customs, and standardized, but also the restorations. As I walk around the floor here in the laboratory, I see a lot of very common mistakes and errors that clinicians are making and we’re going to talk about how we can avoid those. As we talk about these, some are going to say, “Aw I do that all the time,” and we should and a lot of you do, but I see it enough that I think we need to pay attention to some of these tips.
The first one, is take a PA or bitewing of the transfer post before you take your final impressions. I see this all the time and we have to send it back and say take it again, which is frustrating as a laboratory, but it’s certainly frustrating for you, as a clinician, and your patient. When we put our transfer post in, if it’s a hex, make sure it’s seated all the way. If it’s a lobe type transfer post, make sure it’s seated all the way. Take a radiograph. If you’re concerned, maybe you’ve never seen that implant before or it’s one where there’s a transfer in the diameter of the base, send it up to Steve at KeatingDentalLab.com. He’s unbelievable. He’s our implant manager. You email it to him, [email protected]. He’ll look at, he’ll call you right back or email and say yup seated all the way or not.
Also, only hand tighten your transfer post. Don’t use a torque for the transfer post. The screw isn’t designed to be torqued hard. The metal of the transfer post can distort a little bit if you tighten it too much. Just hand tighten it. Now, when you do have it tightened with your driver, remember there’s a screw hole on the top, whether it be a hex or whether it be a star-type driver. Plug that screw hole before you take your impression. I like to use a little ortho wax or you can use a little impression material or you can use a tempering material. You can use a pellet or a piece of one, I’d rather not use that.
What would happen if you don’t plug your screw hole and the impression material goes in there, then you take out your impression, unscrew your transfer post, sometimes that won’t seat all the way because of that little remnant of the impression material that went to that screw hole. One of the things that Steve does here, he gets under a scope at 20 power, he’ll have to take a surgical blade and actually take that away, but let’s avoid it in the first place. Plug the screw hole.
Second is or … I don’t want to say second, let me do that again.
Next is make sure that you have enough impression material that surrounds the entire impression post because what happens is a lot of these transfer or impression post are long and if you don’t completely cover them with the impression material, they’re not stable and we go to try to seat them and there’s wobbling. If that happens … I don’t like that all. You’ll be able to cut that out.
If you don’t have impression material completely surround that post, remember they’re long, as we go to insert that into the impression, we don’t get stability and we can move around within that impression. Then there’s a chance that when we put the analog on, that that won’t be accurately transferred to the stone model.
Next is don’t use a triple tray. I know a lot of you do and it’s fine for single units, but not implants. We need as much material and rigidity in the impression as possible. We’re inserting that long transfer post into the impression, it needs to be completely stable and we put the analog on, it needs to be transferred and reproduced in the stone model. Don’t take a triple tray. Use a full arch tray, make sure the sides are high enough and long enough that we get a very rigid impression.
Next I would recommend send the surgeon’s letter on what type of implant they used or maybe you placed the implant. Make a little photocopy of the little box the implant came in, send that along with your prescription. It just makes everything so much more seamless as we can see the overall goal of the case, exactly what was used.
Next, don’t reuse the analog. They’re not really that expensive. The transfer post we can reuse, but not the analogs. What can happen is if you try to take it out of the stone model, and we’ve even had doctors that prescription say remove the analog from the stone model and send it back with the case. As we take it out of the stone model, we can actually distort that or we can bend it a little bit inadvertently and then you won’t, for your next case, you won’t get accurate representation where that analog should actually go.
Hopefully little tips … There’s not a lot and again they seem so obvious. Pay attention to these and what you’ll find from Keating is you’ll get implant abutments and their corresponding crowns back that look great, that fit, that meet all the criteria that you would expect from an implant supported restoration.
I hope you enjoyed this tip. Again, it may seem obvious, but our goal at Keating is to make sure every restoration, especially implant-supported restorations, that you receive back from us, meets your criteria, as well as your patients.
Be sure to visit us Dental Up for other clinical videos, podcasts and product reviews.