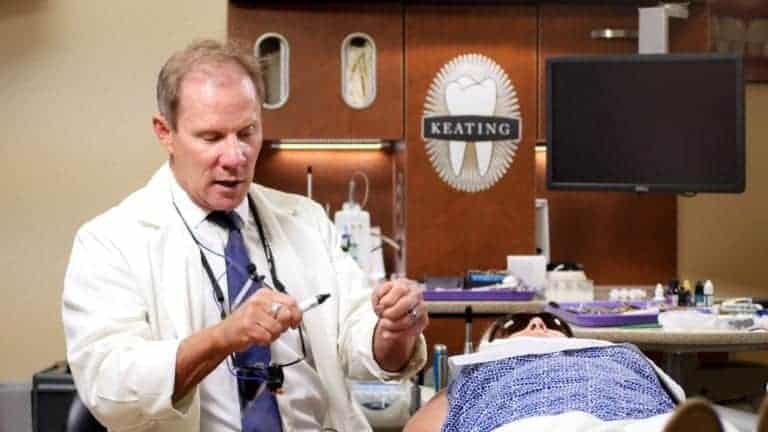
Today we’re talking about factors that influence the final shade, primarily empress veneers. Robin has been in provisionals for two weeks, and today we’re bonding ten Empress veneers while learing the proper techiques for taking the final shade for the empress veneers. There are three primary factors that influence the final shade: the ceramic itself, the cement, and the shade of the preparation. These factors all work together to create the ideal dental restoration. For more info Empress: KDA-Empress.com
Three Factors for Optimal Preparation Shade
The empress ceramic is affected by the thickness as well as the opacity, or the translucency. Second is the cement. It’s effect is to a lesser extent, but it’s still important to consider. The cement can change the value of the veneer, which is important if you’re bonding a translucent restoration. If you have chosen a translucent restoration and like the shade, you can reach for the clear cement.
But if you’ve tried with water and wish it was a bit brighter, you can use a higher value cement to brighten up the veneer. If that makes the dental restoration too monochromatic, then use a warmer cement. Because these restorations fit Robin so well, though, this will not affect the final shade as much as the other factors.
The third factor, and perhaps the biggest influence, is the shade of the preparation itself. When you use the Empress, e.max, or the high-translucency Zirconia like the Bruxer®, the lab needs a preparation shade. This used to be called a stump shade, but we now call it the natural dye, or the preparation. Ivoclar has created a shade guide with the natural dye material, and it’s available in shades one through nine. The higher value is one, and the darker or lower value is nine.
Choosing the Correct Preparation Shade
Before we place the provisionals, we’ll take the shade. Labs prefer that we photograph the area for it, because it may not match exactly. It may be slightly off, but the lab wants to see what value your preparation is. Then, they’ll choose a preparation shade that’s as close as possible. They choose the shade with a light-cured, flexible resin. This MD1 is slightly sticky, then we light-cure it, then put it into the restoration and do our final shade.
As an example, we’ll take our e.max veneer. Whether a crown or a veneer, the lab will take that natural dye material and inject it into the restoration. They’ll then take small metal pins and place it in the dye material before light-curing it. At that point, they will wet the inside of the restoration or the dye itself and determine the right shade. If there is no close match, then they’ll need to custom stain it.
Clinically, we’ll give them the prep shade as well as the final shade, then we’ll get the restoration back. One important thing to remember when using e.max, Empress, or Bruxer® is to ensure the lab returns the prep dyes.
Before we remove Robin’s temporaries, we’ll wet the inside of the veneer and put it on the corresponding dye. If it matches the shade we ordered, then we can continue. If it’s off, then we need to determine if we can modify it with cement, as mentioned above, or if we need to start over.
We hope this is a helpful resource to utilizing prep shades, especially when using a translucent material. The elements of a successful shade taking involves the ceramic, the cement, and the shade of the preparation. With these three pieces, you can ensure a quality dental restoration for your patient.